Expert Gelcoat Repair & Restoration Tips for Boat Owners in Charleston, Hilton Head & Savannah
What Causes My Boat’s Gelcoat To Look Dull
If you’ve owned your boat for any length of time, you may have noticed it doesn’t shine like it once did. That glossy, like-new finish fades over time—but why? The answer lies in your boat’s gelcoat surface and how it’s affected by the coastal environment in areas from Wilmington to Savannah.
Most boats are finished with gelcoat, not paint. Gelcoat is a polyester-based material mixed with pigment that gives your boat its color and reflective finish. To maintain that shine, gelcoat needs regular protection—typically from wax or professional-grade sealants. Without it, the surface becomes exposed to UV rays and saltwater, both of which are common along the Lowcountry coast.
Prolonged exposure breaks down the molecular structure of the gelcoat. Over time, this causes the surface to become brittle and porous, similar to sun-damaged skin. Once the gelcoat becomes porous, it reacts with oxygen in the air, causing oxidation—which shows up as a faded, chalky, or blotchy appearance. The good news? This is often reversible with professional gelcoat repair or detailing services available throughout Hilton Head and Savannah.

Gelcoat Preservation For Newer Modeled Boats
Whether your boat is fresh off the lot or pushing 20 years old, preserving its gelcoat finish is essential to maintaining both appearance and value. Just like your skin needs sunscreen, your boat’s surface needs a protective barrier. For boats in Hilton Head and Savannah, where intense sun and saltwater are daily factors, that barrier typically comes in the form of wax, SiO2-based sealants, or ceramic coatings.
These coatings serve one main purpose—UV protection. Over time, UV rays can degrade the gelcoat, leaving it dull, brittle, and prone to oxidation. A basic wax application is something many boat owners can tackle themselves—either by hand or with a buffer. However, if maintaining a showroom-quality finish is your goal, hiring a professional boat detailing service is strongly recommended.
Once your boat has been waxed or coated, the next step is keeping that protection intact. The best way to do this is by rinsing your boat after every use and—most importantly—using the right cleaning products. Avoid common dish soaps like Dawn, which are actually wax-stripping agents that undo all your hard work. Instead, always use a marine-grade wash-and-wax boat soap designed to clean without removing your protective coating.
Equally important is choosing the correct brush. For hull surfaces, a soft-tip brush helps preserve the coating. For tougher deck areas, a medium to stiff bristle brush is appropriate—but don’t use it on delicate gelcoat finishes.
With consistent care and the right products, your boat’s gelcoat will continue to shine—whether you’re cruising around Hilton Head or docking in Savannah.
Gelcoat Restoration For Older Modeled Boats
If your boat is starting to look dull, chalky, or just plain tired, you’re likely dealing with gelcoat oxidation—a common issue in sun-soaked coastal areas from Charleston SC to Hilton Head Island. Whether your boat is a few years old or has been sitting unprotected for a season or more, knowing the level of oxidation is the first step to restoring its finish and protecting its value.
To simplify things, gelcoat oxidation is typically categorized into three levels: light, medium, and heavy.
- Light oxidation means your boat still has some gloss but has lost its deep, factory shine. This usually happens 3 to 12 months after your last detail or wax application.
- Medium oxidation sets in when the gelcoat loses its gloss entirely and starts to look chalky, especially on sun-exposed areas. This usually develops around 12 months or more of neglect.
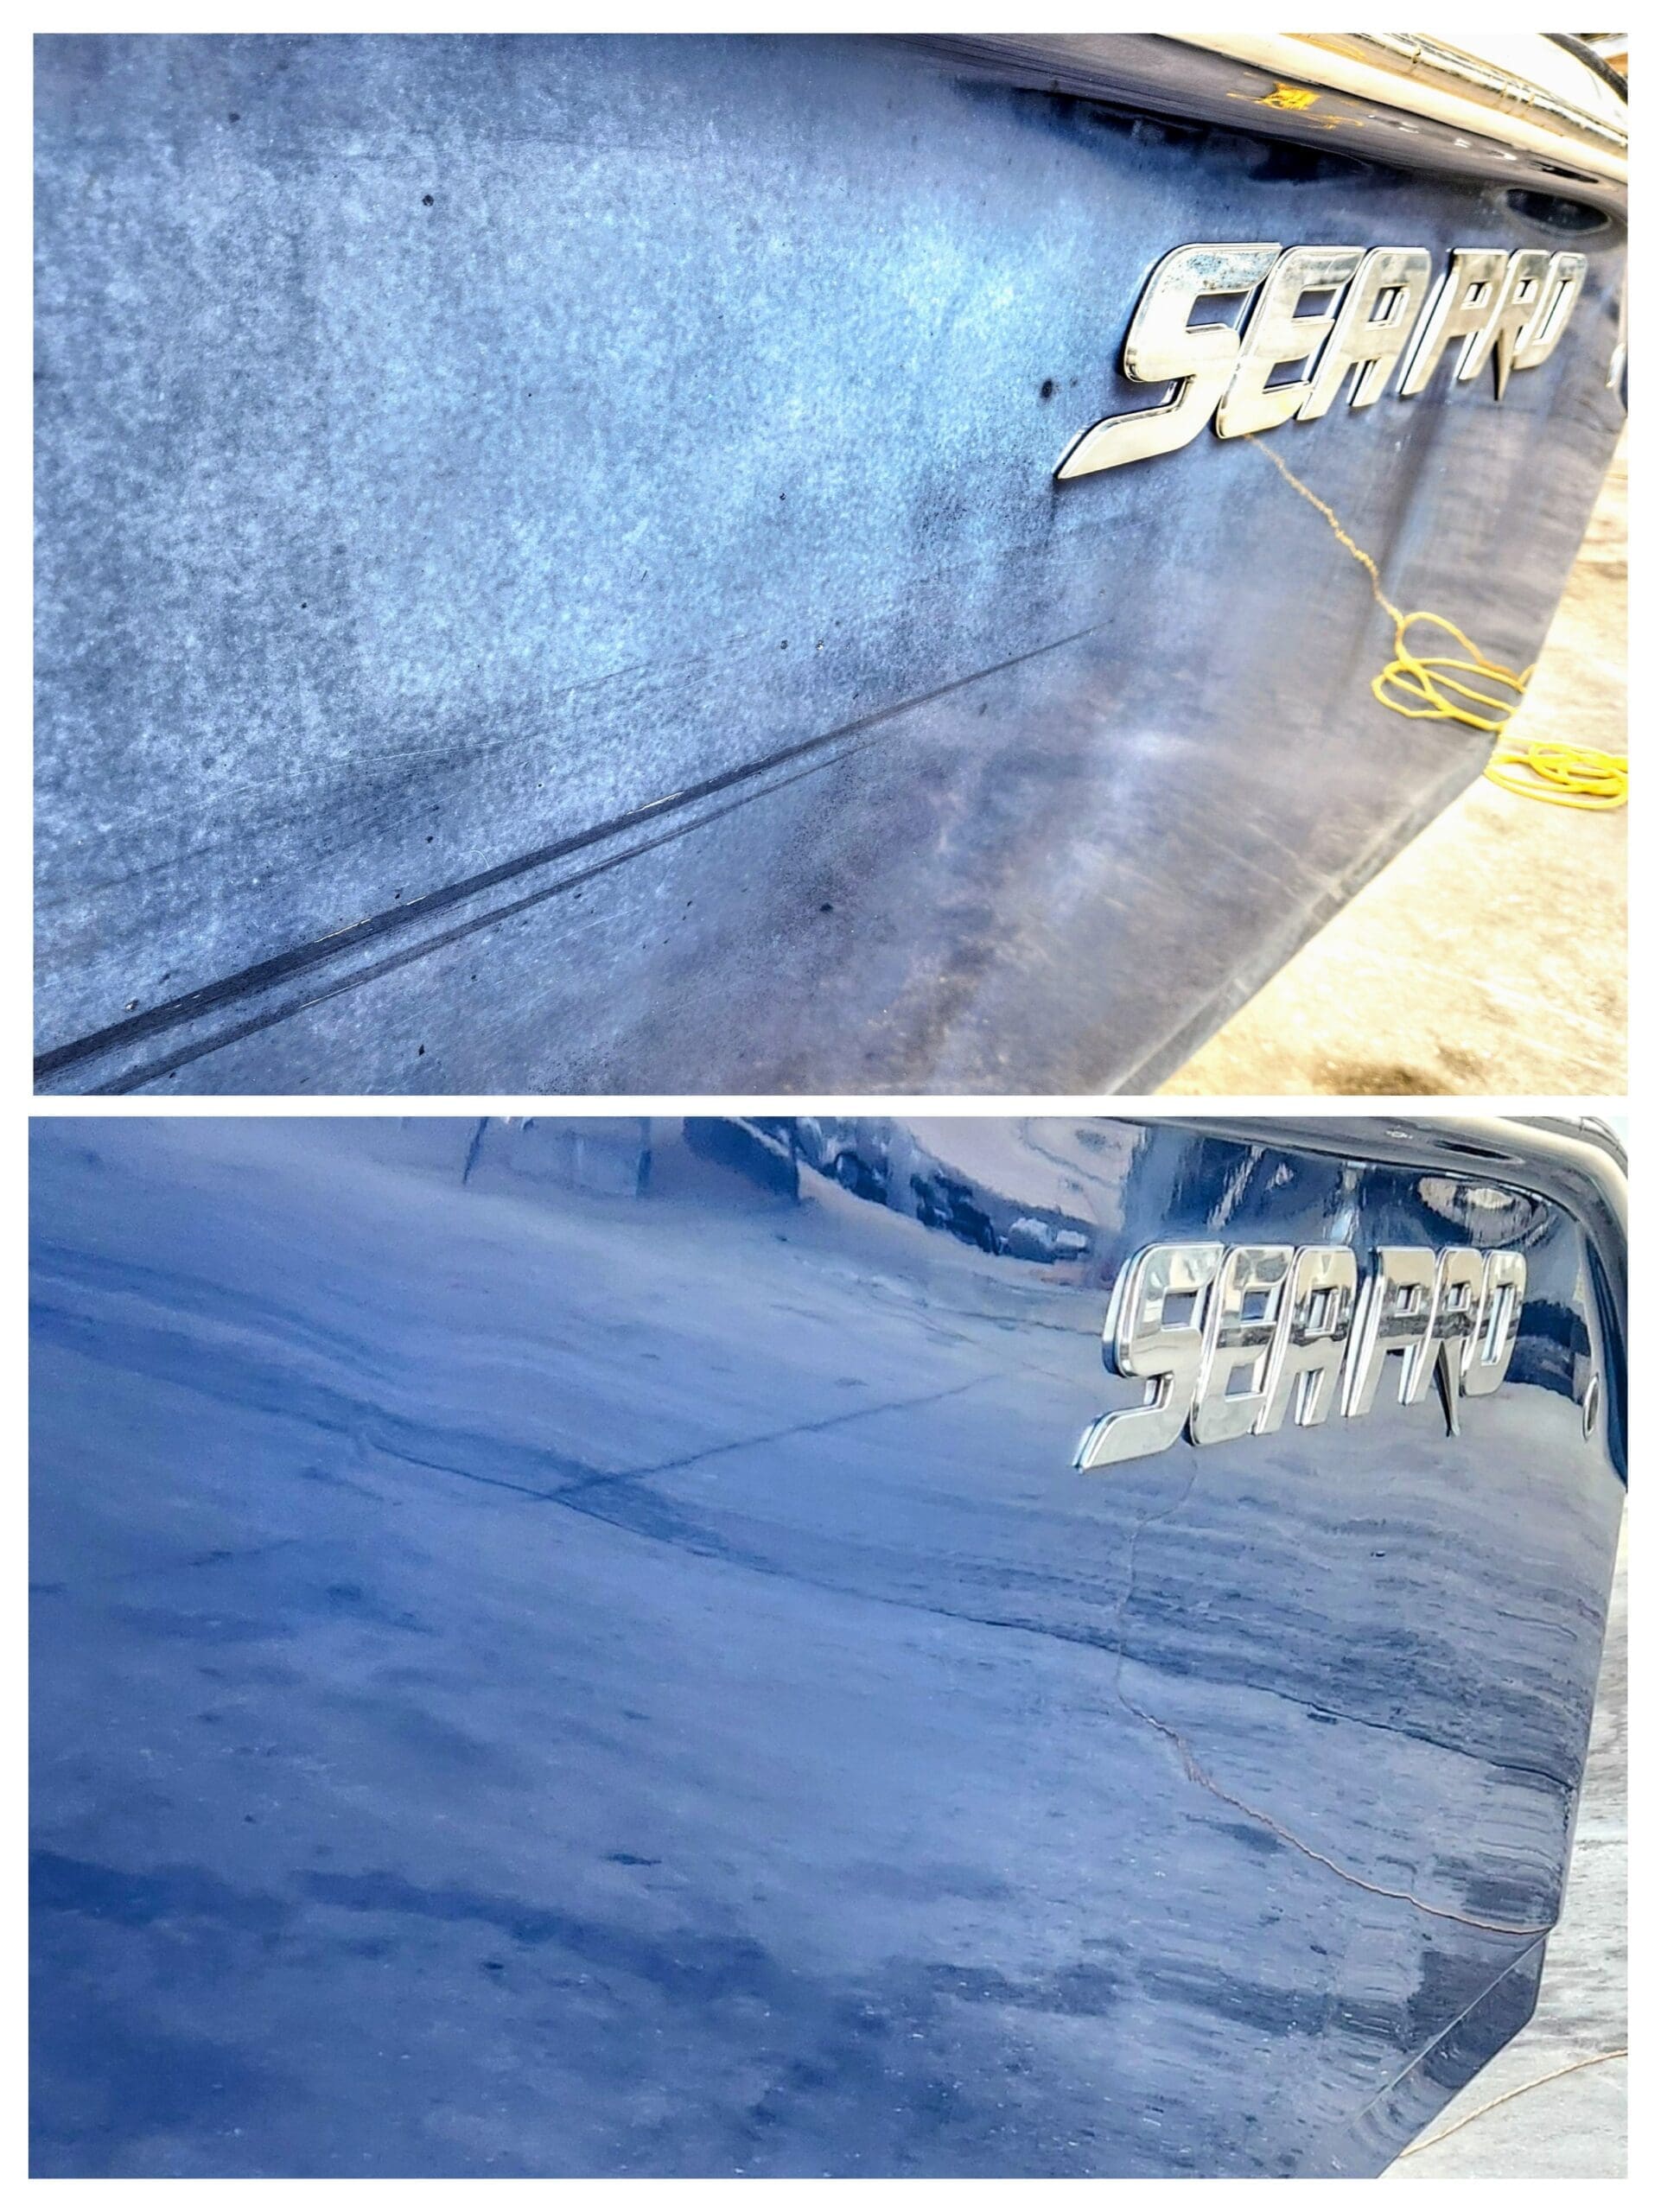
- Heavy oxidation is the most severe stage. The gelcoat not only looks chalky and dull, but also develops splotchy areas that resemble chemical stains on the hull. At this point, the finish is deeply degraded and requires more aggressive restoration methods which we’ll discuss below.
Gelcoat restoration on older model boats can prove tricky, so tread lightly in the sections below which outline how to remove the oxidation. The main reason for this is because gelcoat is only so thick and the older a boat the more it has been detailed (compounded – essentially lightly sanding the boat) and/or wet sanded. Meaning, that your risk of “burn through” is much greater. “Burn through” is a term that refers to removing the gelcoat which then reveals your fiberglass laminate underneath. This is a costly error and could call for the boat to be completely regelcoated which is an expensive price tag. So, the best rule of thumb is to use the lightest compound (smalles grit) possible to achieve the desired results.
Pro Tip: Look for a deep scratch, scrape, chip or gouge in the gelcoat on the boat hull that you are planning to remove the oxidation from, if it’s an older boat you’re guaranteed to find one . When you locate it, look at it from the side and you can gauge your thickness via “eyeball”. If you have the thickness of a credit card or greater that is good news and you can be more aggressive in your approach to the methods below. If it’s less than the thickness of a credit card then tread lightly and go with the least abrasive compound first.
What Do You Need To Get Started?
- Rotary Polisher – These can range from $50 at your cheapest upwards of $1,000. Basically, you get what you pay for so the cheapest option generally is a bad call but a safe bet is somewhere $150-250.
- Wool Pads, buy at least two white and one yellow. If your polisher comes with a backing plate, ensure you don’t buy a double sided pad, if not you’re good to go. Generally $20-50 a piece.
- Compounds: You choose your brand but basically you are going to need a heavy cut compound, a medium cut compound and a light cut compound. Most come in 24 to 32 ounce bottles which is sufficient for up to a 28’ boat. Generally $30 a piece.
- Polish: You will need one selection of polish to finish the detail. Generally $30 a piece.
- Microfiber towels: Ten is a good amount. Use to wipe down excess compound and post buffing. Generally just over $1 a towel.
Pro Tip: The cost all in you are probably very close to the cost of the detail. You only win in this scenario if you do at least two details, so keep the wheel turning on the buffer or bail from the store now and call a pro.

Picture of the interior of our mobile fiberglass repair vans and the products used for this repair.
How to Remove Gelcoat Oxidation Step by Step
The secret is to remove the outer damaged layer of gelcoat to reach the good gelcoat underneath that has not been touched by the sun, salt or other elements. That is your “pay dirt”.
-
- Pick A Test Safe Test Spot: Start with an area on the hull of your boat that is oxidized just as much as the rest of the boat but is in an area that is safest to recover from if you make mistakes. For this, I like the flat portion of the transom just off to the side of an outboard. It gets very little attention from eyeballs.
- Perform A Test Spot: Use a white wool pad on your buffer and the safest place to start is with a medium cut compound. Prime the pad by placing 6 to 10 dime size drops on the pad, pat the pad onto the boats surface in a liberal 1’x1’ area, keep the pad in contact with the boat’s surface with firm pressure and begin cutting at a slow speed (1k RPM) moving from left to right, overlapping your passes. Then move from down to up overlapping your passes. Increase the RPM a few notches and lighten your pressure and complete a final pass. Wipe down your excess.
- Observe And Get Feedback From Observation: Does the test spot look splotchy still or does it have a brilliant shine? If it shines, try your polish on the yellow wool pad at a 2k rpm and chances are you just had light to minimal oxidation. If it looks better but still splotchy, gear down to the heavy cut and go again. If after two passes of heavy cut, it still looks unsatisfactory, then you may need to jump to wet sanding (see below).
- Get To Work: Now that you have the answer what the boat’s gelcoat surface needs it’s time to get to work. Start by doing small sections at a time no wider than shoulder width and no longer than from your head to your waistline. Ensure you are crossing over previous completed areas so that you do not leave vertical lines in the boat from one area to the next. Pro Tip: Get 2 pieces of painter’s tape and place one on the boat as your left limit and one as your right limit to keep track of areas completed.
Removing oxidation without damaging the gelcoat requires the right approach and tools. Restoration usually involves compounds and a rotary polisher to remove just enough of the oxidized layer without going too deep. But choosing the correct compound and pad depends entirely on your oxidation level—which can be tough to judge if you’re not experienced. Keep in mind: compounds, wool pads, rotary polishers, and sealants can quickly cost $500 or more—and results vary significantly based on your technique. If you’re confident with detailing equipment and have the time, DIY restoration may give you decent results. But for a long-lasting, high-gloss finish, hiring a professional boat detailing service near me is often the best investment.

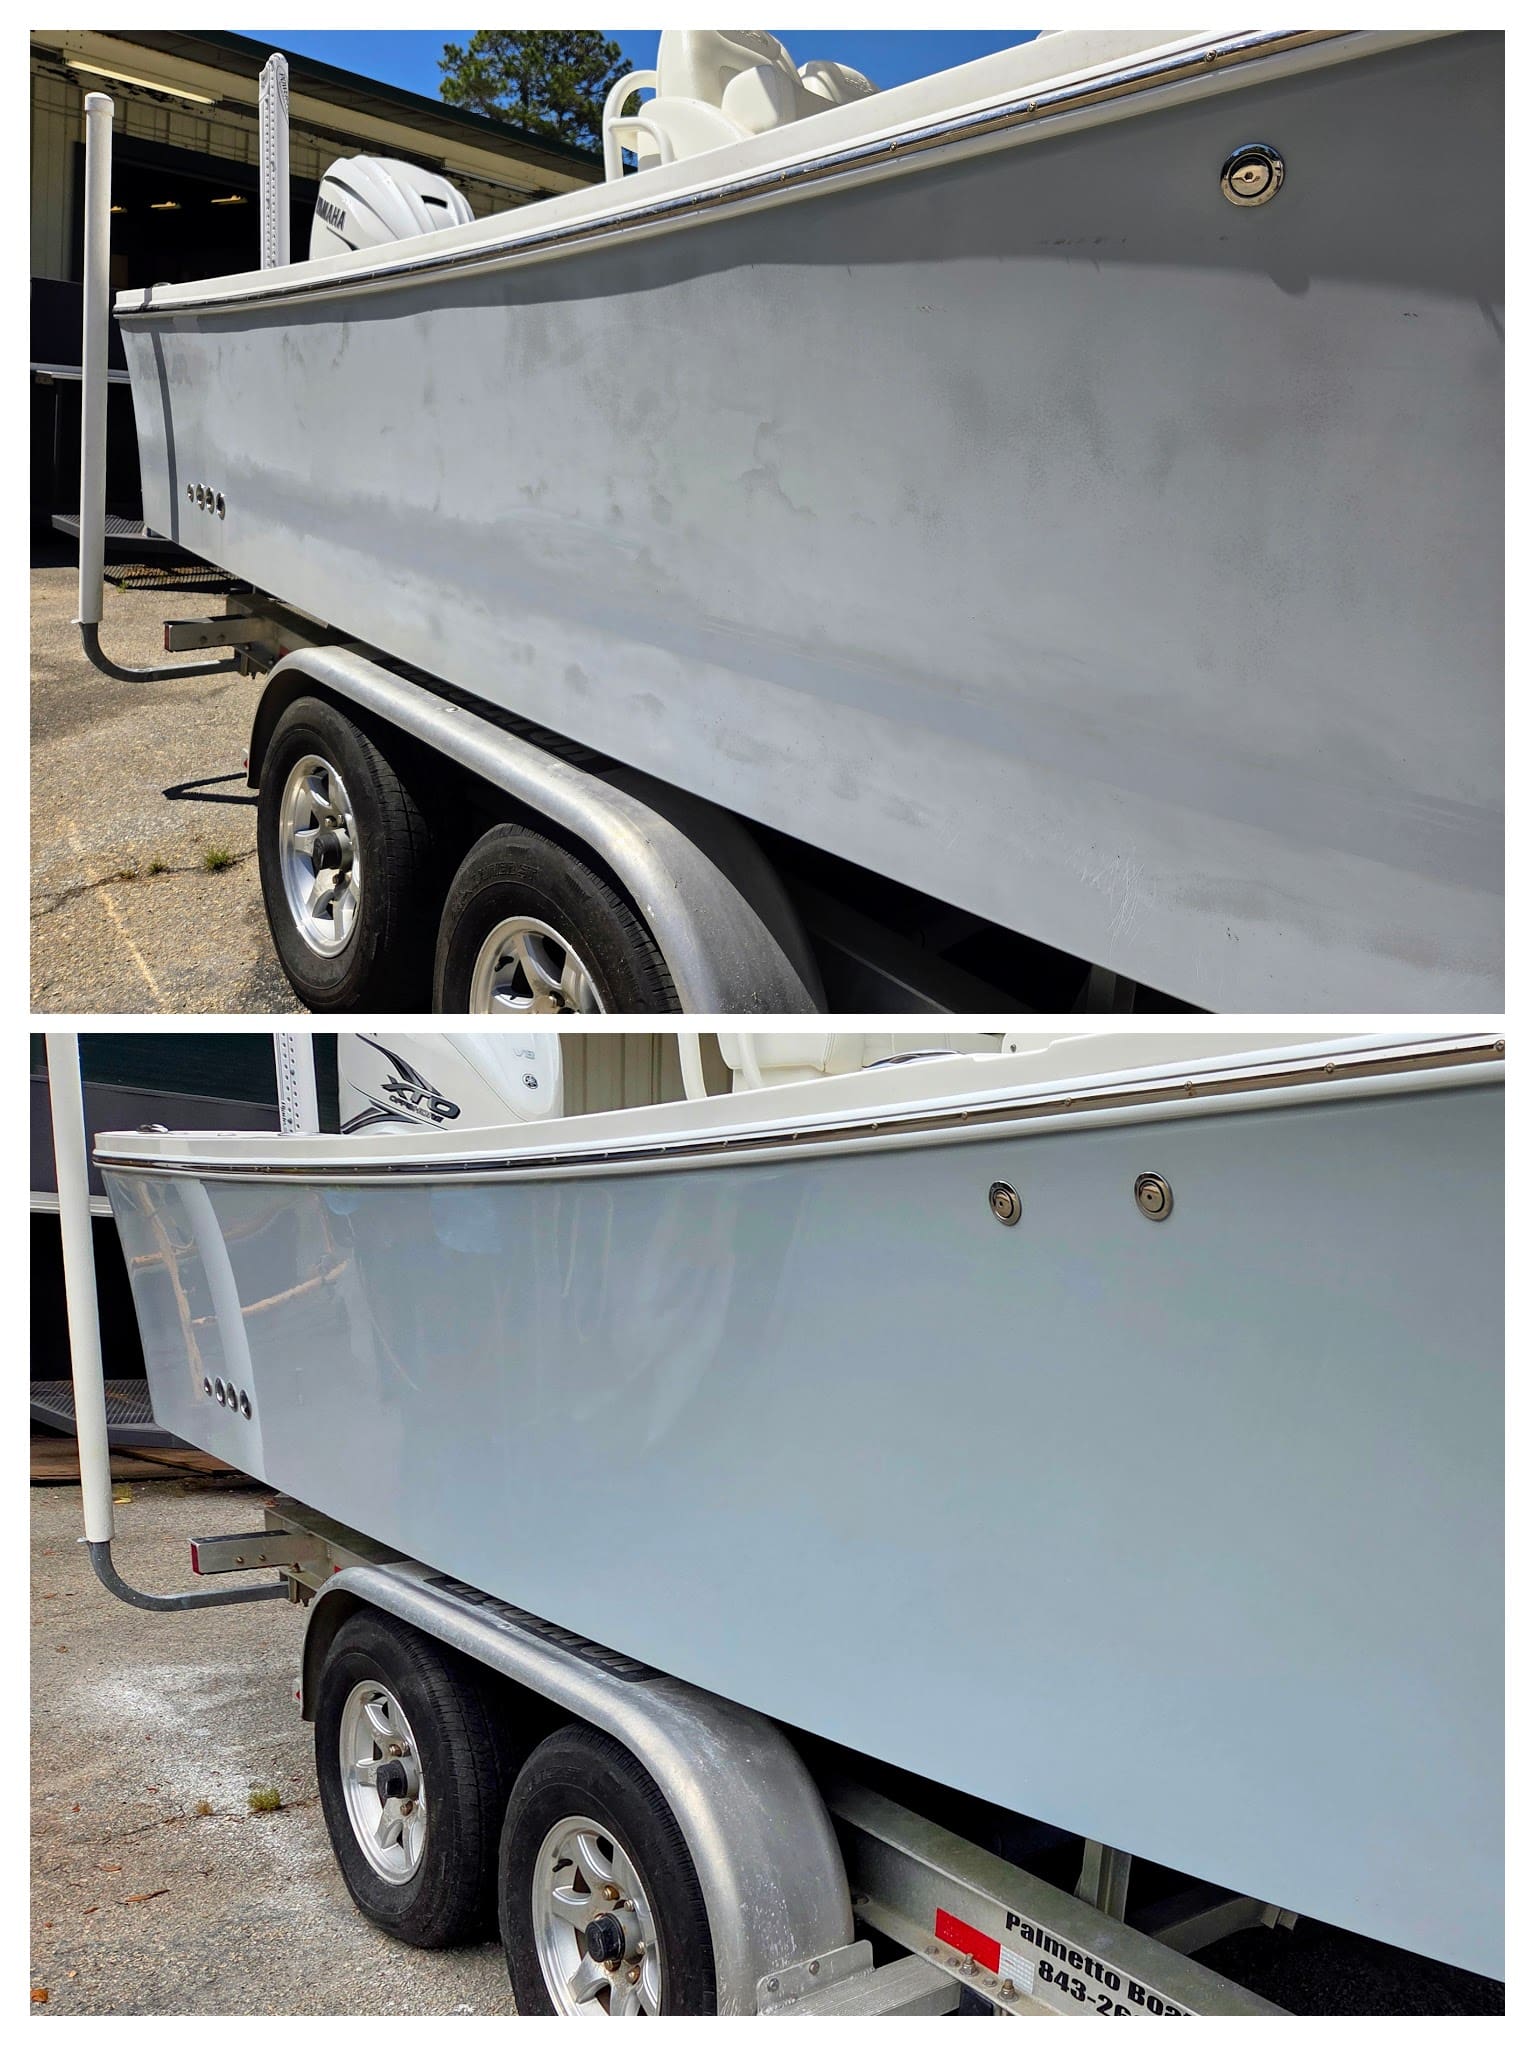
Before and After photo of a heavily oxidized newer center console boat that was detailed in Charleston and brought back to life
Wet Sanding: The “Last Call” for Severe Oxidation
For boats with severe gelcoat oxidation, wet sanding may be the only option. This advanced process involves using fine-grit sandpaper to carefully remove the top layer of gelcoat before polishing and sealing the surface. While wet sanding can completely transform a boat’s appearance, it’s not recommended for DIY boat owners—mistakes can permanently damage your gelcoat and lower the boat’s resale value.
That’s why heavy restoration work, especially wet sanding, is best left to a gelcoat repair professional with the tools and experience to do it right.

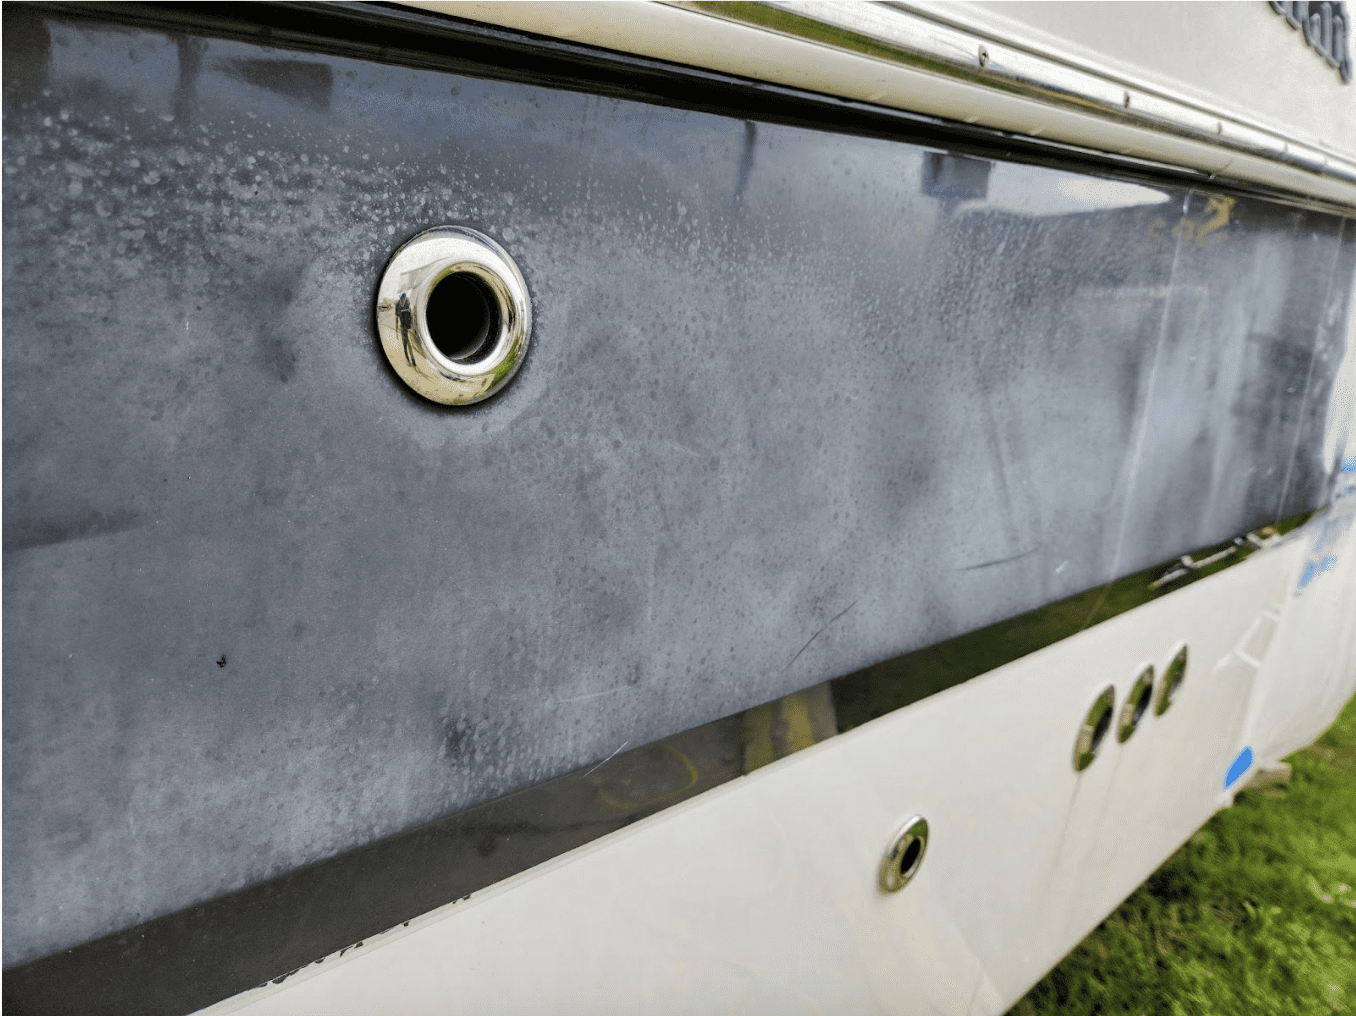
Photo of a heavily oxidized Grady White that was wet sanded and compounded on a test spot
The Last Step Is To Seal The Open Pores (Protection)
The last step is to protect our hull integrity from further degredation. Remember the analogy given earlier of gelcoat being pourous like your skin, so if you go out in the sun you want sunblock. We want to provide the same protection to our vessel, so there are a plethora of products on the market to choose from but we just recommend a basic boat wax or an SI02 sealant (both can be purchased either online or in major retail stores). Apply per the directions of the label demands. Enjoy your beautiful boat and follow these steps here to keep it maintained.
While Detailing, You Might Observe Other Gelcoat Issues, If So…
In saltwater-heavy regions like Charleston and Hilton Head, knowing when to repair gelcoat damage is crucial to maintaining your boat’s value and avoiding larger issues. So how do you know what needs immediate attention and what’s just cosmetic?
Here’s a simple analogy: think of your boat like a human body.
- Gelcoat is like your skin
- Fiberglass is the muscle
- Structural fiberglass is the bone
A scratch, chip, or gouge in the gelcoat is similar to a surface-level cut. While it may seem minor, it exposes the fiberglass beneath and leaves it vulnerable to moisture and deterioration. If the damage is below the waterline, it should be repaired immediately—no exceptions. These areas are under constant stress and exposure, and delaying repairs could lead to more serious structural damage.
If the damage is above the waterline, it’s typically cosmetic but still shouldn’t be ignored. Gelcoat doesn’t self-heal—it continues to degrade, which can affect both appearance and resale value.
You may be tempted to try a DIY gelcoat repair, but this often does more harm than good. Amateur fixes rarely blend well, and many boat owners end up paying more when professionals have to remove the failed patch to do it right. For lasting results and a smooth finish that protects your investment, it’s always better to let a gelcoat repair specialist handle the job. Click here if you need more in-depth information that will help you identify the differences between a gelcoat repair and a fiberglass repair and which one you may need.
Is There A Mobile Fiberglass And Gelcoat Repair Company Near Me?
If you’re located in Charleston, Daniel Island, Mount Pleasant, Isle of Palms, Hilton Head, Bluffton, Savannah, Tybee Island, or Sea Island, GA, and your boat needs detailing, gelcoat or fiberglass repair, the answer is simple: Yes and we come to you.
Total Boat Repair provides professional-grade mobile gelcoat and fiberglass repair services throughout the Lowcountry and Coastal Georgia. With more than 25 years of combined experience and a reputation built on over 123 five-star reviews, they’ve become the trusted choice for boat owners who value quality, transparency and convenience.
Unlike many repair services, Total Boat Repair is fully insured and committed to delivering a seamless customer experience. They specialize in everything from minor gelcoat scratches to major fiberglass damage—and they make the process simple. Just text or email photos of your boat’s damage, and you’ll receive a quick response with a ballpark estimate, often the same day.
If you’re looking for expert boat repair in Hilton Head, Savannah, or the surrounding areas, skip the guesswork. Click here to contact Total Boat Repair today and see why so many boat owners trust them to restore and protect their vessels.

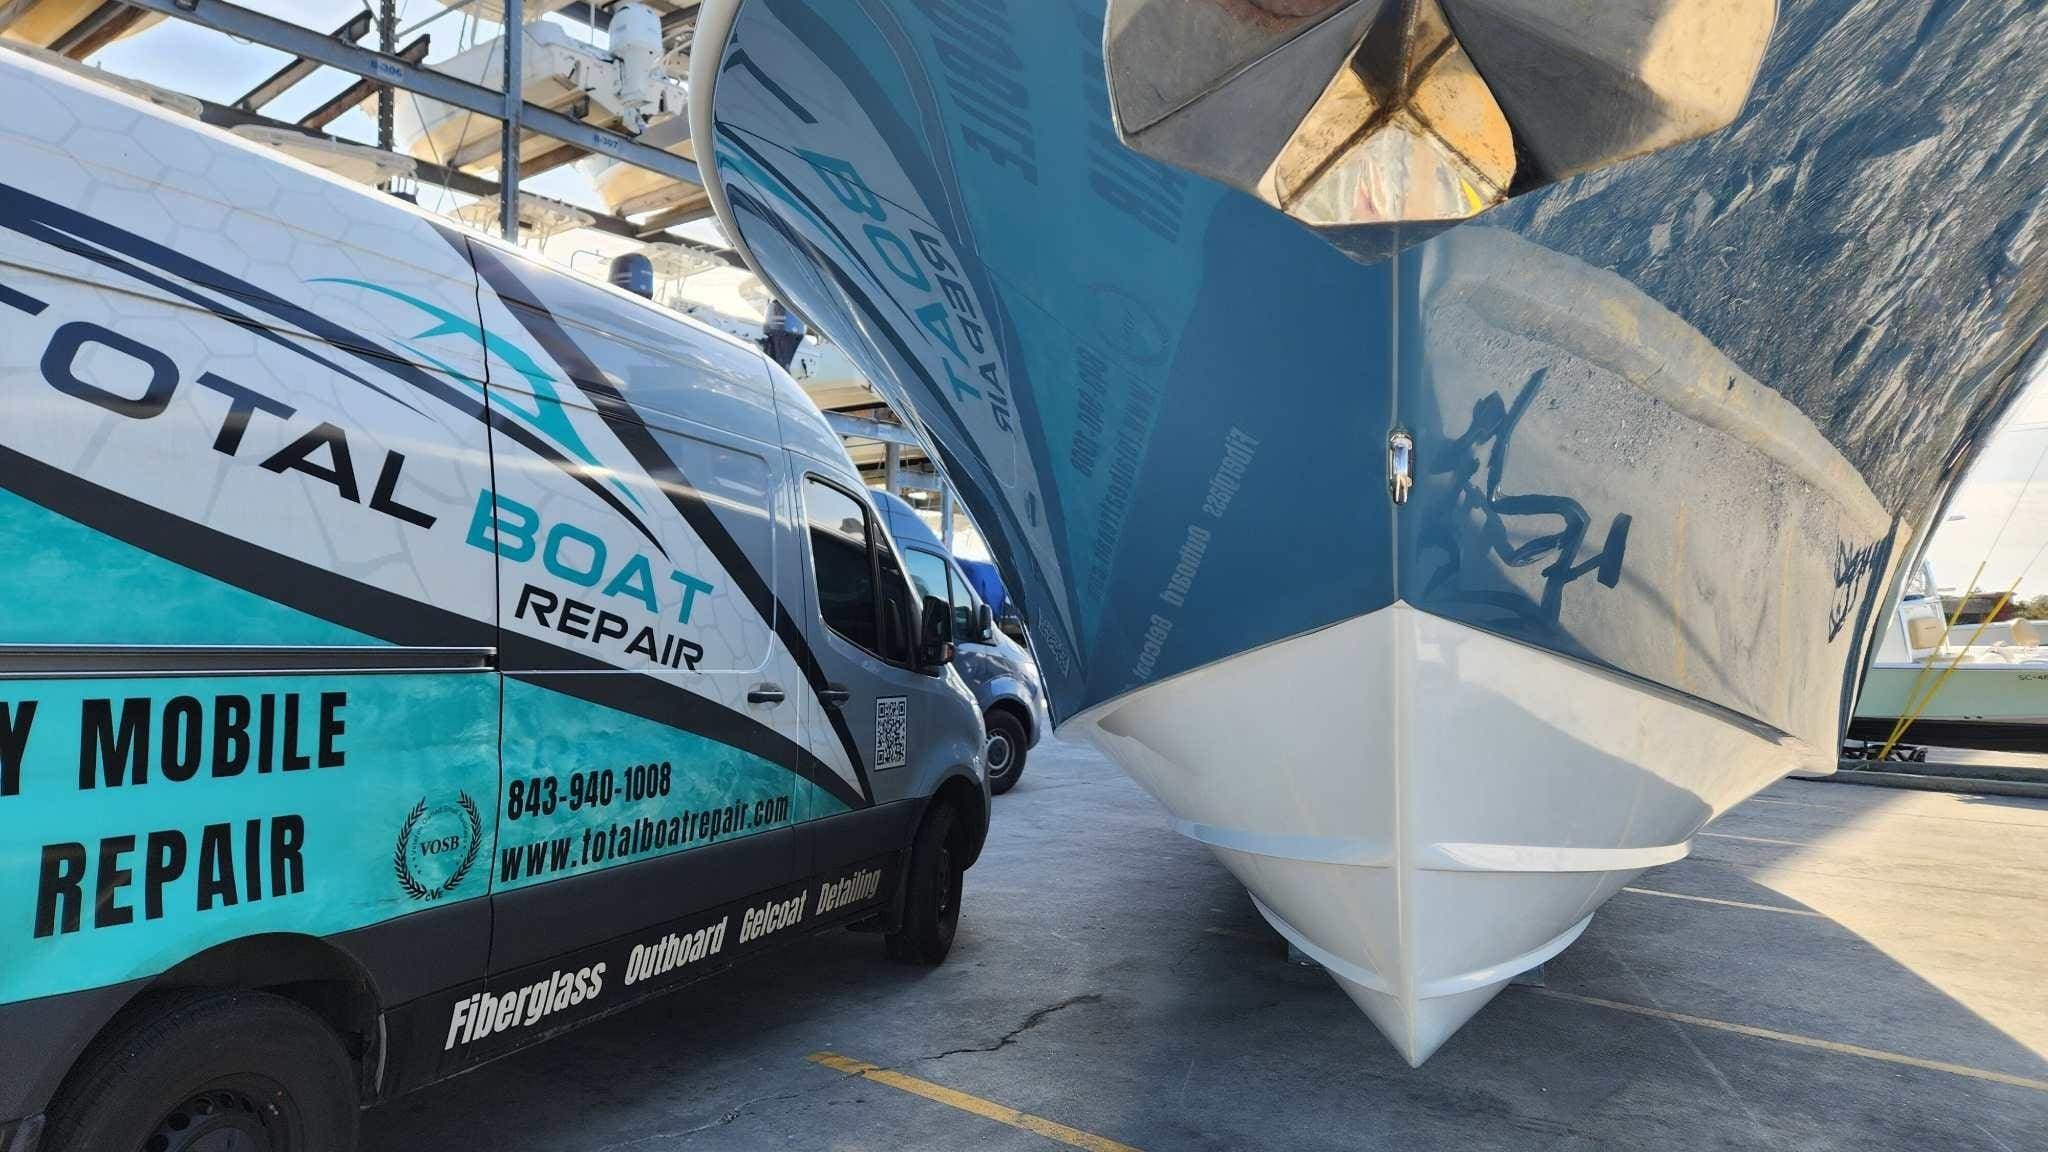
Photo of a yacht that has recently undergone a gelcoat repair and boat detail
